Warning
This post may contain inaccuracies and partial information or solutions.
To reduce my backlog of docs, I’ve decided to publish my nearly completed drafts assisted by AI.
I wrote most of the following content but used generative AI to format, organize, and complete the post. I’m sure some tone is lost along the way.
Leave a comment if you find any issues!
(originally created Jan 13th 2023)
This documentation covers creating a local “offline” voice assistant using a Raspberry Pi and Microphones powered by the Rhasspy Voice Assistant software.
I couldn’t find a comprehensive guide connecting all the parts and created this to reference in future builds.
Hardware Setup
Before jumping into the installation, you’ll need the following hardware:
- Raspberry Pi (with Raspberry Pi OS 64-bit)
- SD card (minimum 8GB, 128GB recommended for ample storage)
- Microphone array (ReSpeaker 4 Mic Array used in this guide)
- Speakers or headphones
Once you’ve gathered your hardware, follow the Raspberry Pi OS installation steps. The 64-bit Lite version is recommended for its lightweight nature.
Download Raspberry Pi OS 64-bit Lite: 2022-09-22-raspios-bullseye-arm64-lite.img.xz
Alternatively, you can use DietPi for a more minimal setup: DietPi_RPi-ARMv8-Bookworm.7z
Use Etcher or a similar imaging tool to flash the SD card with the downloaded OS image. Before booting up the Raspberry Pi, make sure to enable SSH by creating an empty file named “ssh” in the boot directory of the SD card.
Software Installation
Raspberry Pi Configuration
Once the Raspberry Pi boots, fix your IP address to ensure a stable connection. Next, install Docker by running the following commands:
curl -sSL https://get.docker.com | sh
sudo usermod -a -G docker $USER
Log out and back in to apply the group changes.
Installing Rhasspy
Run Rhasspy using Docker with the following command:
docker run -d -p 12101:12101 \
      --name rhasspy \
      --restart unless-stopped \
      -v "$HOME/.config/rhasspy/profiles:/profiles" \
      -v "/etc/localtime:/etc/localtime:ro" \
      --device /dev/snd:/dev/snd \
      rhasspy/rhasspy \
      --user-profiles /profiles \
      --profile en
Access the Rhasspy web interface by navigating to http://your-raspberry-pi-ip:12101.
Installing ReSpeaker Drivers
If using the ReSpeaker 4 Mic Array, install its drivers with the following commands:
sudo apt-get update
sudo apt install git
git clone https://github.com/Seeed-Studio/seeed-voicecard.git
cd seeed-voicecard
sudo ./install.sh
sudo reboot now
Post-reboot, navigate back to http://your-raspberry-pi-ip:12101 to continue the configuration.
Configuring Sound and Speech
To set up external sound, use the command dietpi-config to install Alsa (https://wiki.archlinux.org/title/Advanced_Linux_Sound_Architecture) and select your microphone and speaker.
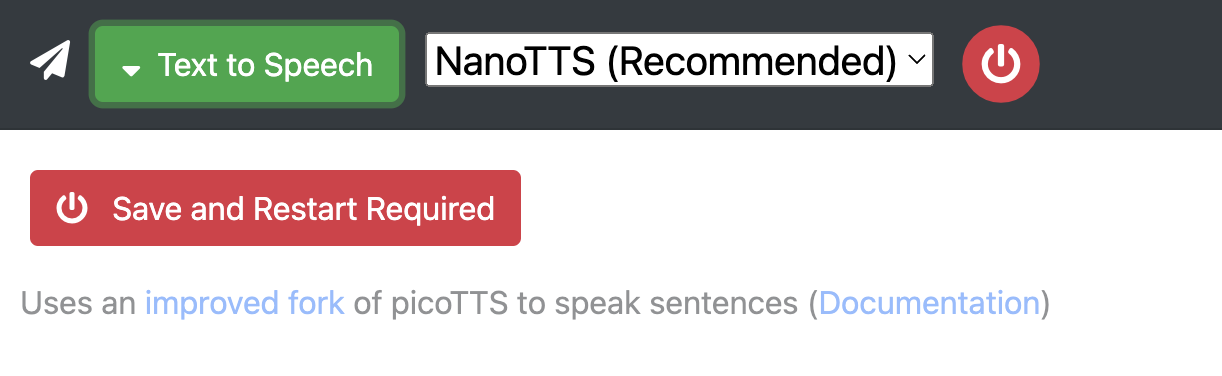
Enable Text-To-Speech (TTS) and set up output audio within the Rhasspy web interface by navigating through the settings.

Securing Rhasspy with Iptables
To restrict internet access while allowing local network communication, implement iptables rules as shown in the script below. This setup ensures that only SSH and Rhasspy traffic are allowed:
# Blockall.sh - secure your Rhasspy installation with iptables
SERVER_IP="your-raspberry-pi-ip"

# Flushing all current rules
iptables -F
iptables -X

# Allow SSH
iptables -A INPUT -p tcp -s 0/0 -d $SERVER_IP --sport 513:65535 --dport 22 -m state --state NEW,ESTABLISHED -j ACCEPT
iptables -A OUTPUT -p tcp -s $SERVER_IP -d 0/0 --sport 22 --dport 513:65535 -m state --state ESTABLISHED -j ACCEPT

# Default policies
iptables -P INPUT DROP
iptables -P OUTPUT DROP
iptables -P FORWARD DROP

# Loopback traffic
iptables -A INPUT -i lo -j ACCEPT
iptables -A OUTPUT -o lo -j ACCEPT

# Block all other traffic
iptables -A INPUT -j DROP
iptables -A OUTPUT -j DROP

# Allow Rhasspy
iptables -I INPUT -p tcp --dport 12101 -j ACCEPT
After applying these configurations, verify your iptables rules with sudo iptables -L.
Your Rhasspy setup is now complete! With a secured, custom voice assistant running on your Raspberry Pi, the possibilities for home automation and projects are vast and exciting.
For further customizations and configurations, the Rhasspy documentation offers a wealth of information to explore.