Warning
This post may contain inaccuracies and partial information or solutions.
To reduce my backlog of docs, I’ve decided to publish my nearly completed drafts assisted by AI.
I wrote most of the following content but used generative AI to format, organize, and complete the post. I’m sure some tone is lost along the way.
Leave a comment if you find any issues!
(originally created Jan 8th 2021)
I was disappointed by how loud the stock fans are in both the 24 port PoE switch and the UDM Pro. While the noise is tolerable in a dedicated server room, it’s not so much in a silent bedroom.
I couldn’t find any information online about replacing the fans, so I decided to void my warranty and do it myself. Hopefully this guide helps any other brave souls looking to quiet down their UniFi gear.
Replacing the Switch 24 PoE Pro Fans
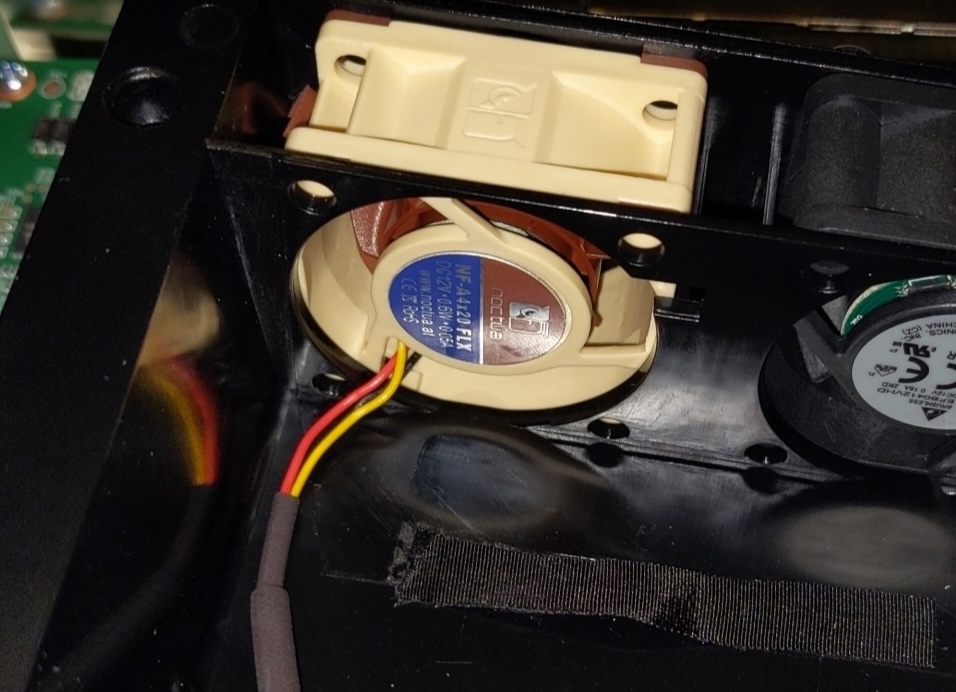
The two fans in the Switch 24 PoE Pro are standard 40mm sizes. I replaced them both with a Noctua NF-A4x20 PWM, which is a very quiet fan.
Steps
-
Remove the 4 screws on the back of the switch and carefully lift off the top cover. Be careful of the ribbon cable connecting the status LED board.
-
Unplug the stock fans and remove the screws holding the large plastic enclosure in place.
-
Install the Noctua fan in the same orientation as the stock fan. Make sure the label is facing up and the wires are through the rectangular slot.
-
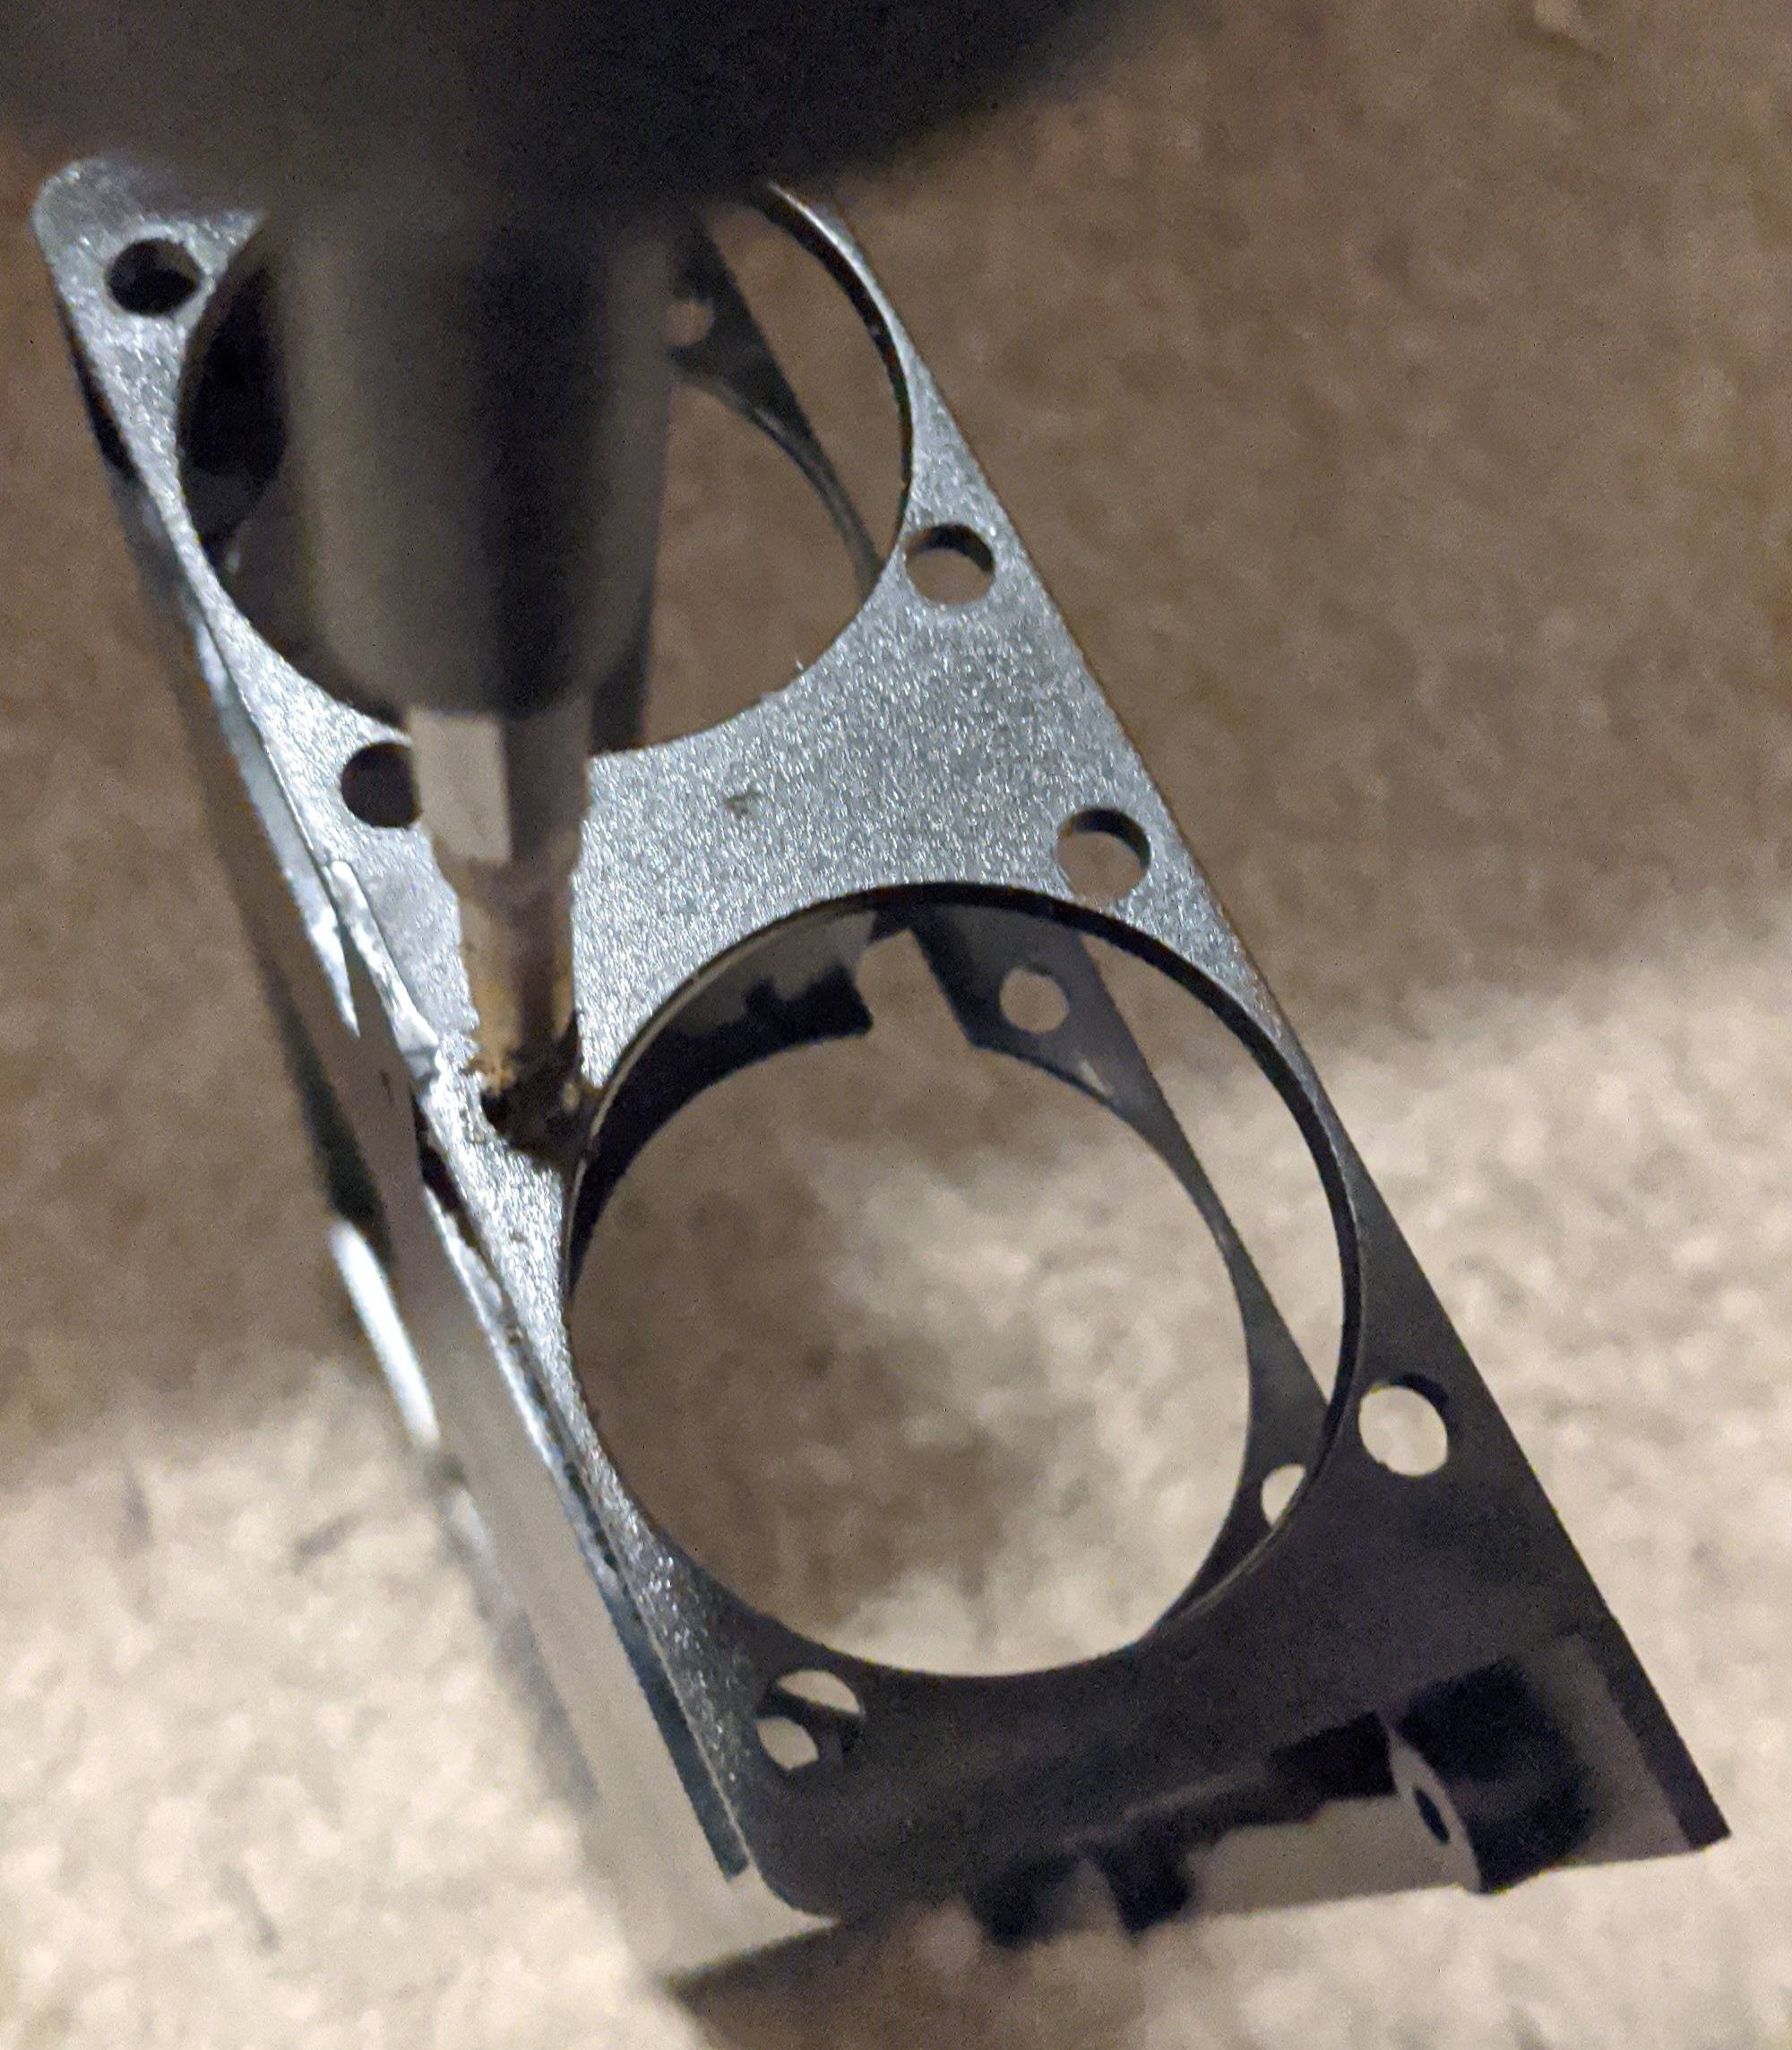
Use a 3/16th drill bit to widen the plastic holes, as shown in the picture.
-
Plug in the new fan to confirm it works before closing everything up. Note that it takes about 2 minutes for the fan to spin up on boot.
-
Secure the large plastic fan enclosure back in place
-
Carefully lower the top cover back on, making sure no wires get trapped underneath. It’s a tight fit.
-
Replace the 4 screws on the back.
Replacing the UDM Pro’s Fan
The UDM Pro has a single, non-standard-sized fan measuring 60x25mm. I used a Noctua NF-A6x25 PWM as a replacement.
Warning
If you don’t use the hard drive slot on your UDM Pro, there most likely is no benefit to performing this modification.
The hard drive fan is only active when a hard drive is present (for UniFi Protect).
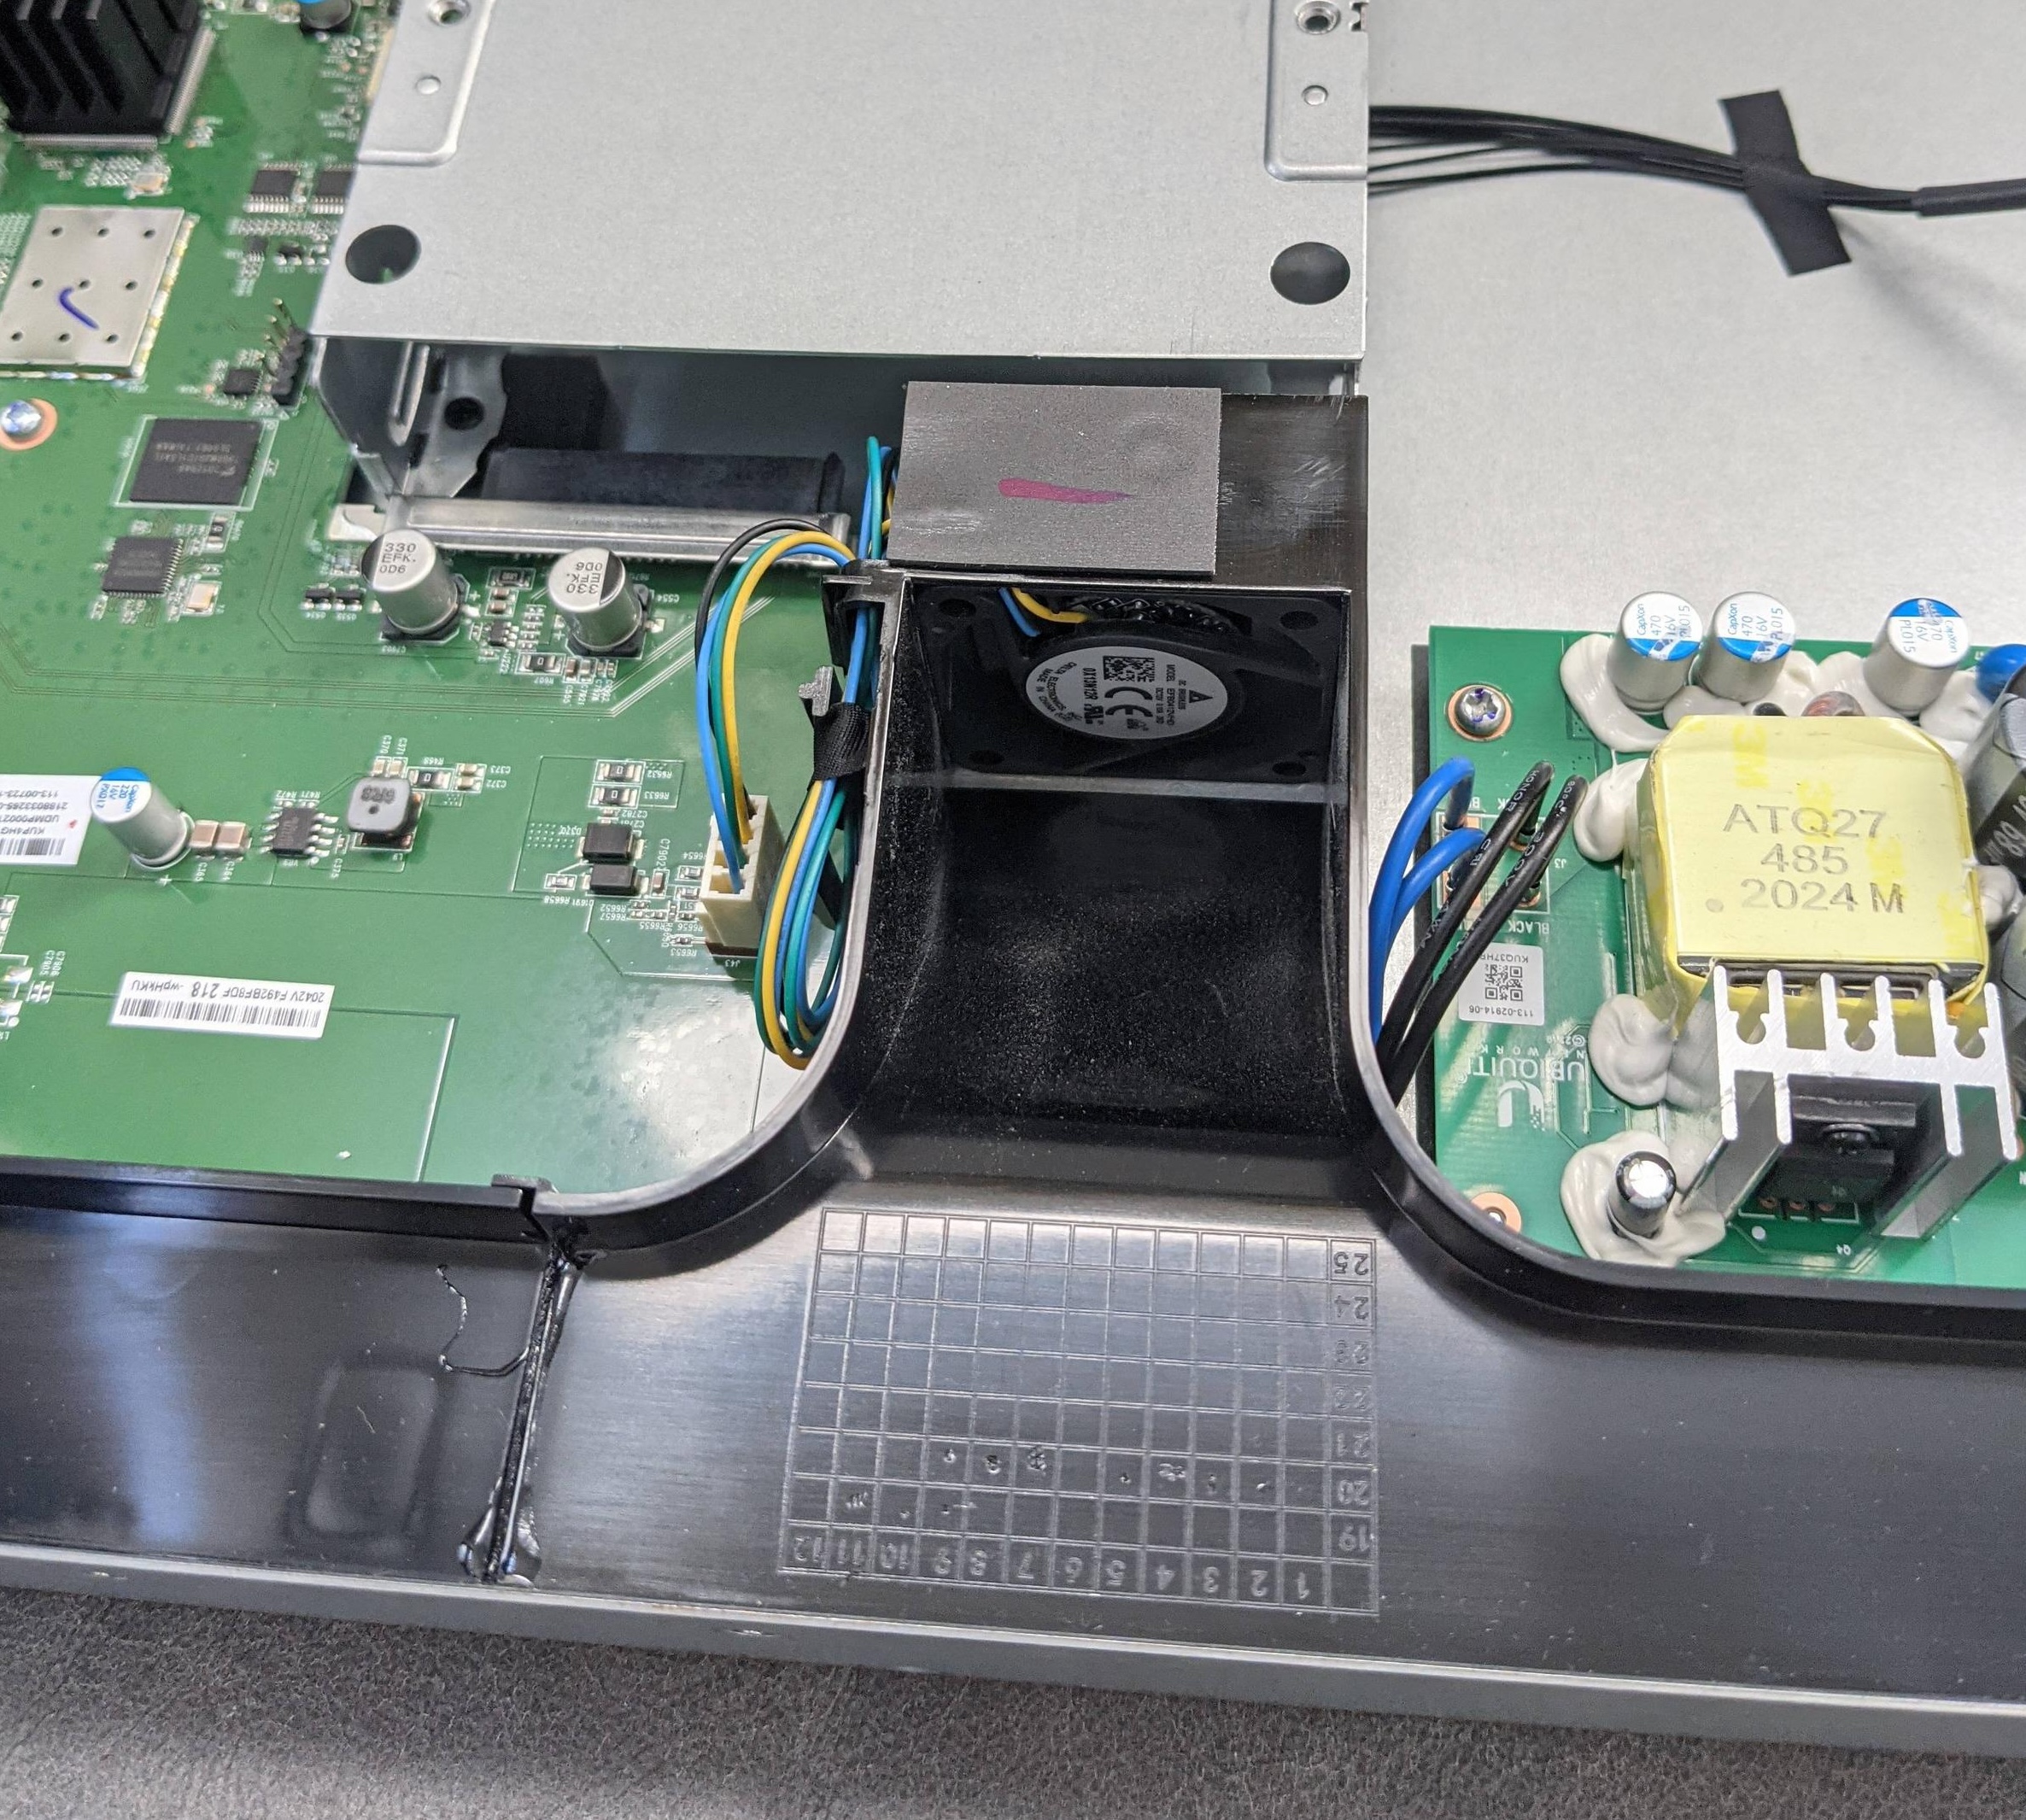
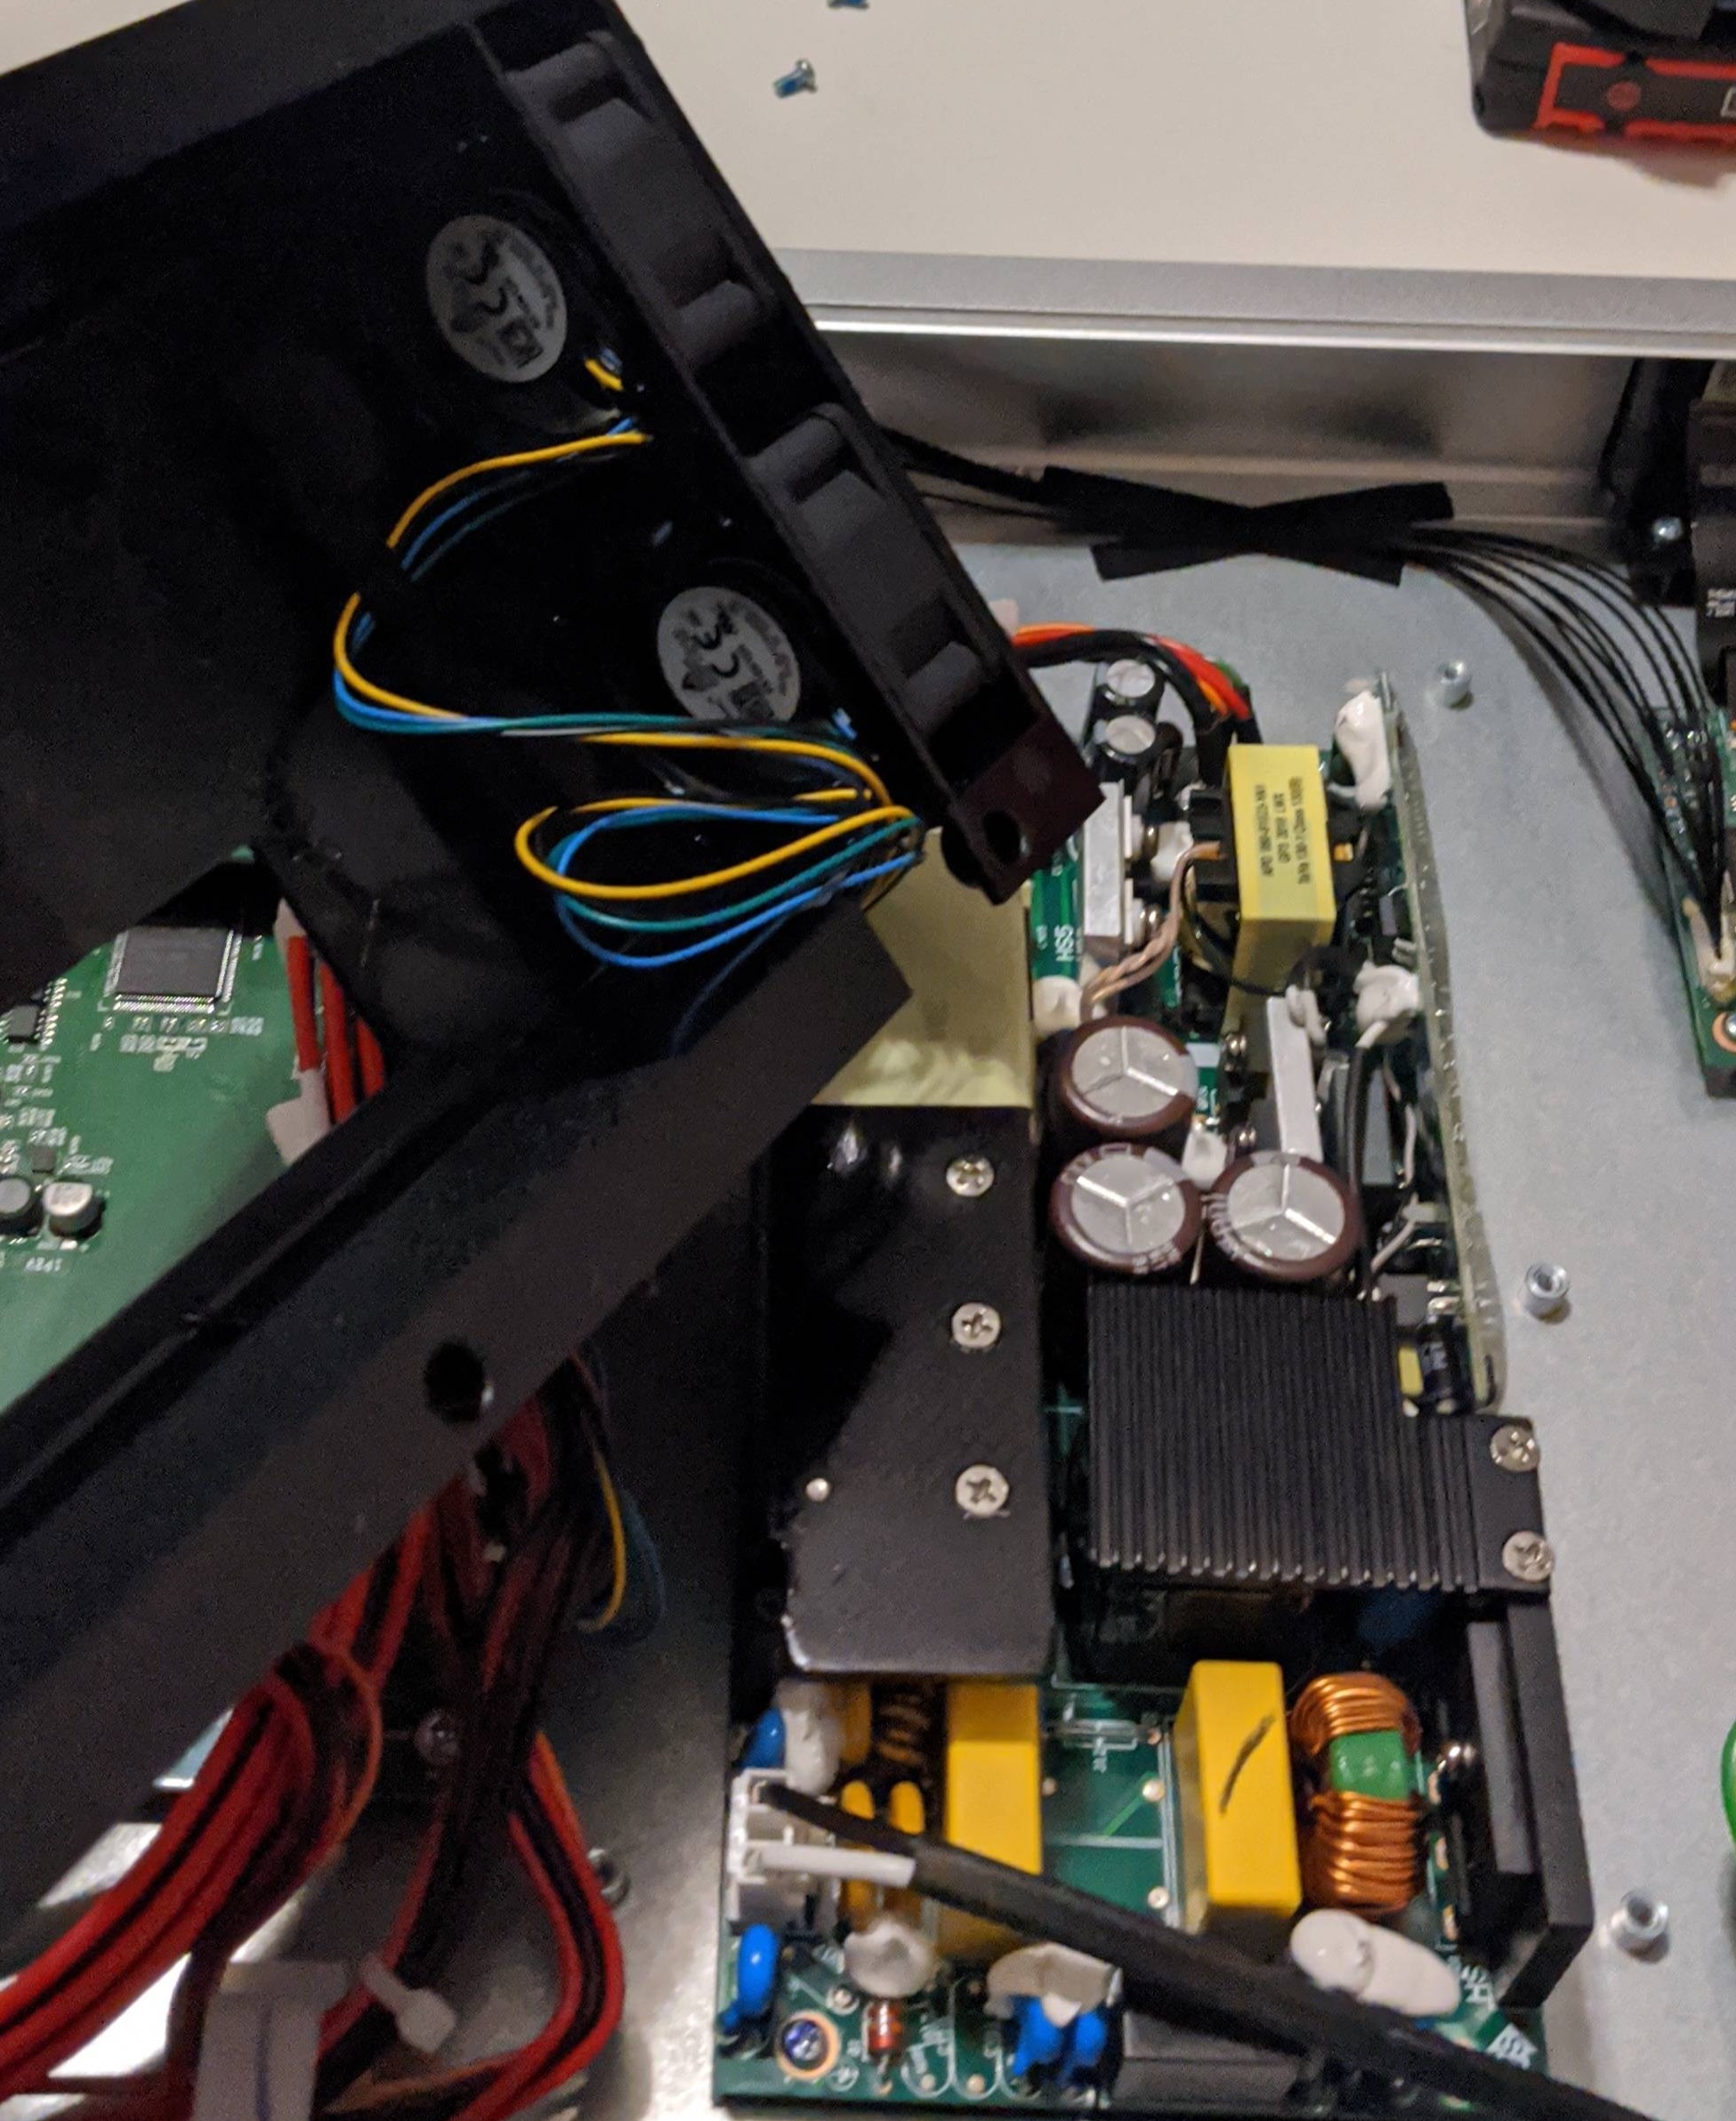
(notice the air black plastic air channel along the bottom we’ll have to try not to break)
Steps
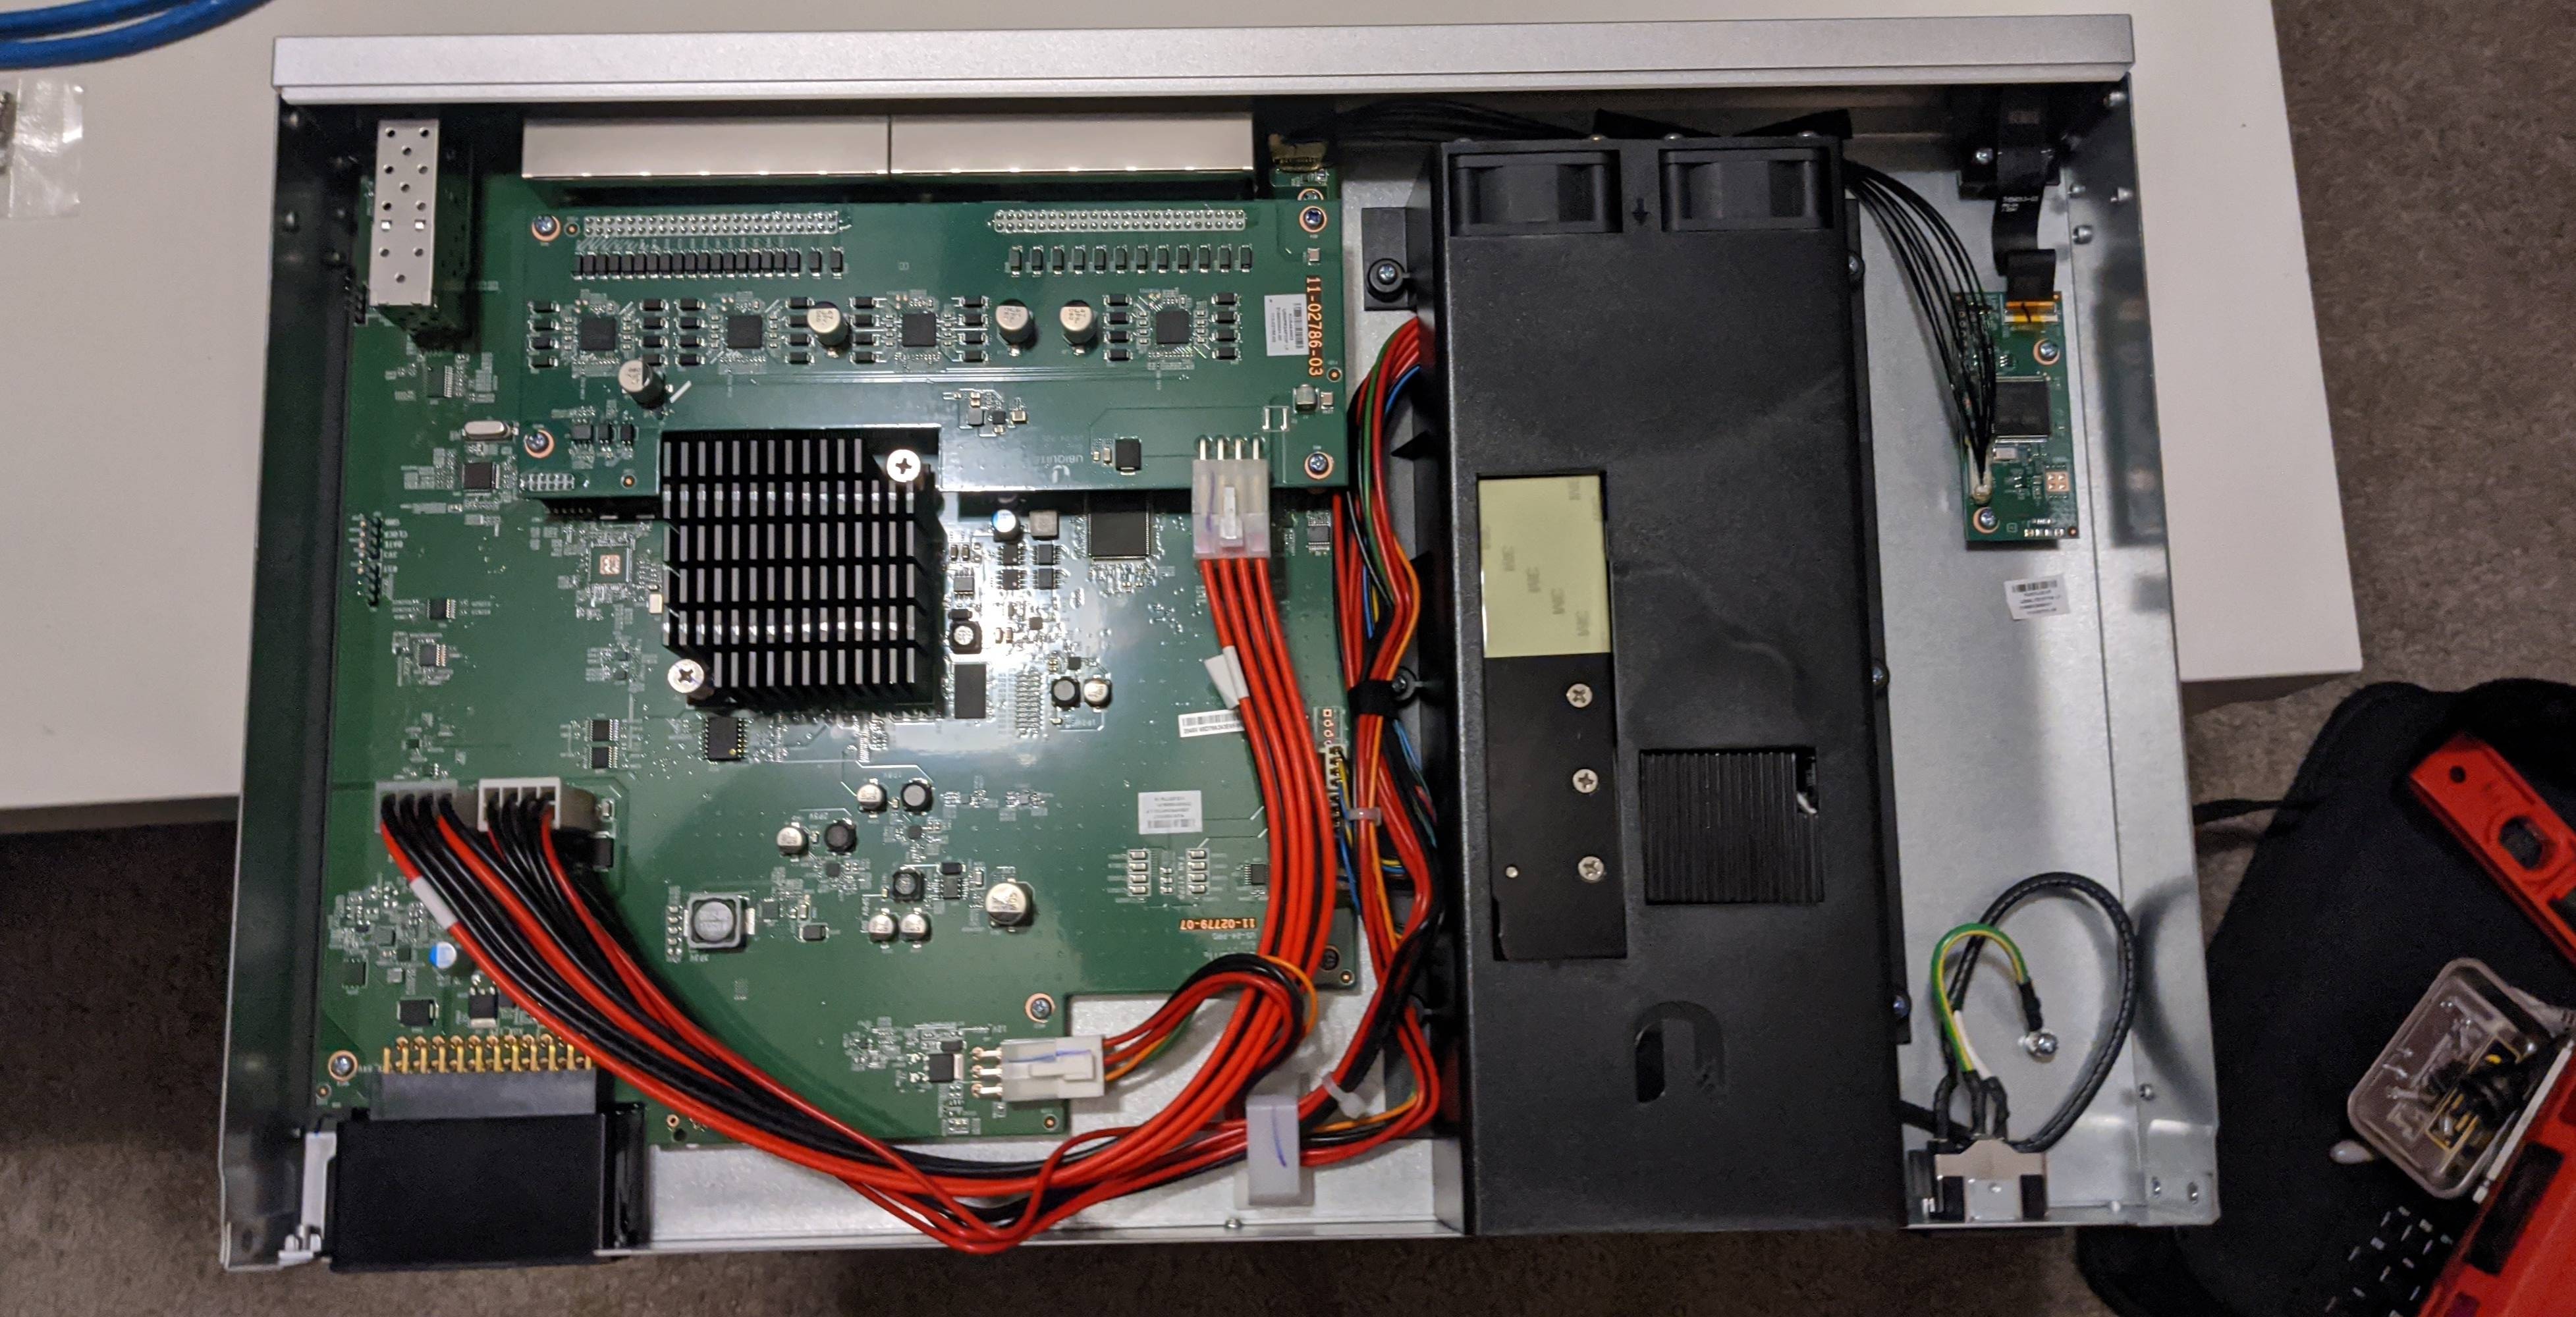
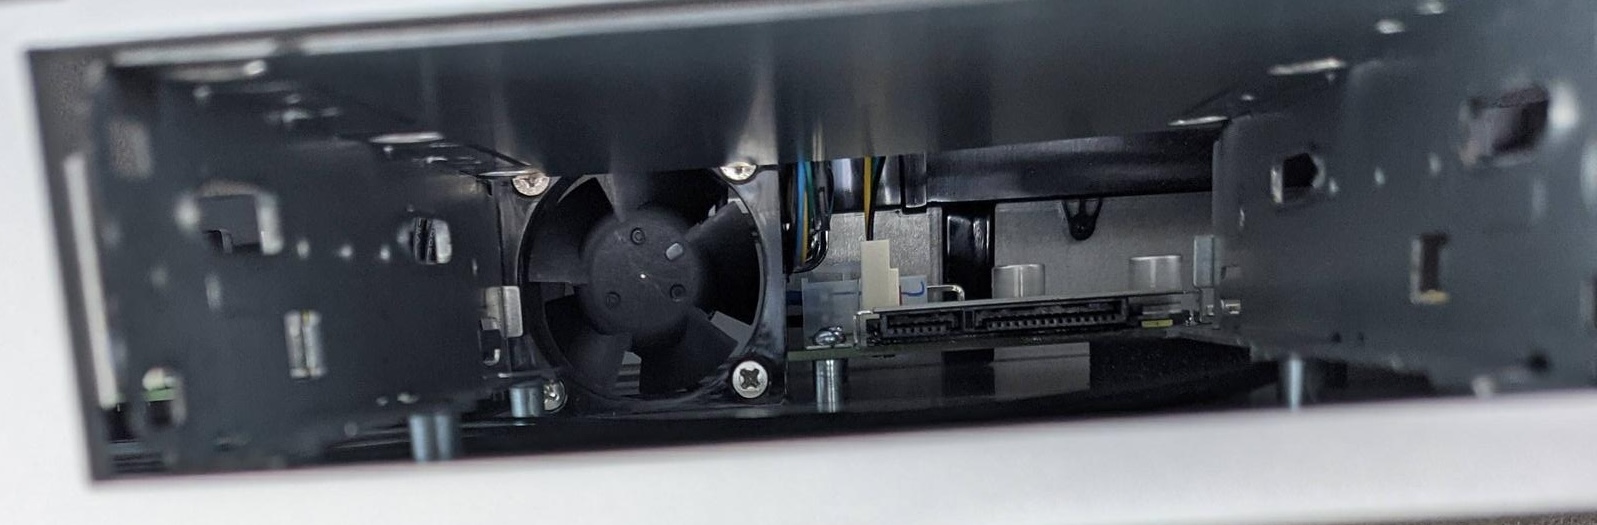
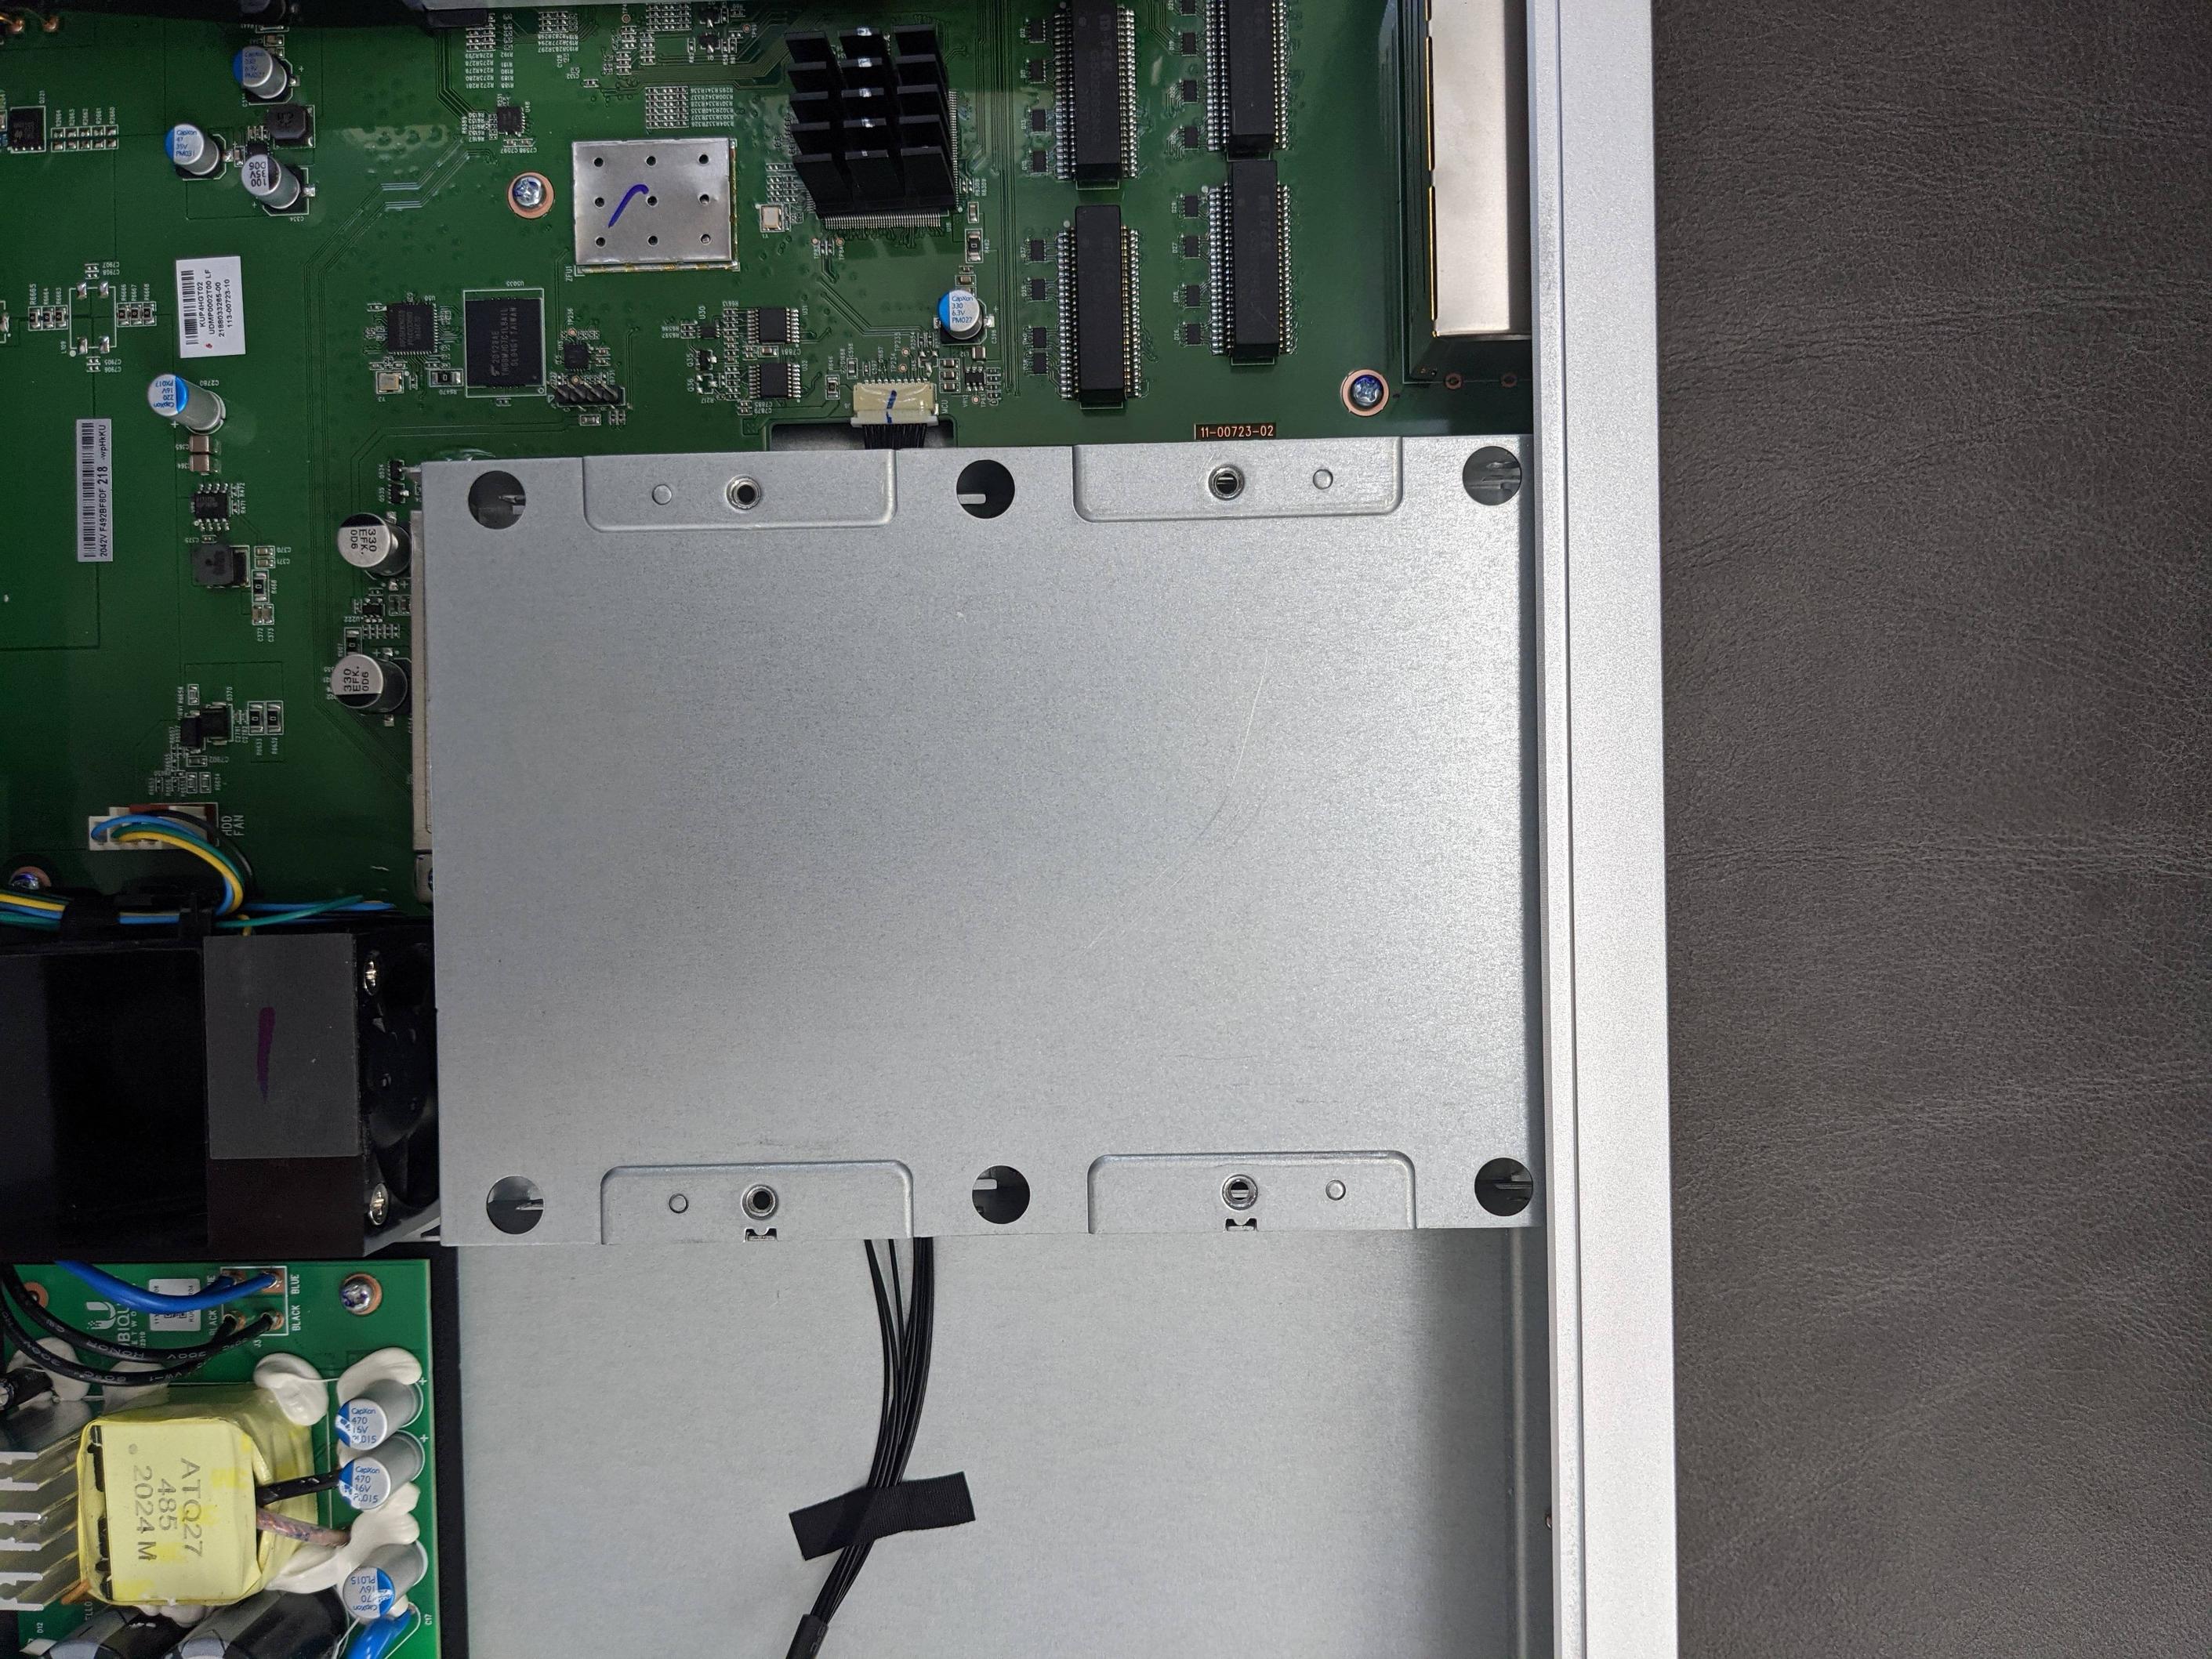
- Remove the 4 screws on the bottom of the UDM Pro and lift off the bottom cover.
- To get to the fan, you’ll need to remove the 6 screws holding the drive chassis in place (large cut-out circles on corners / middle)
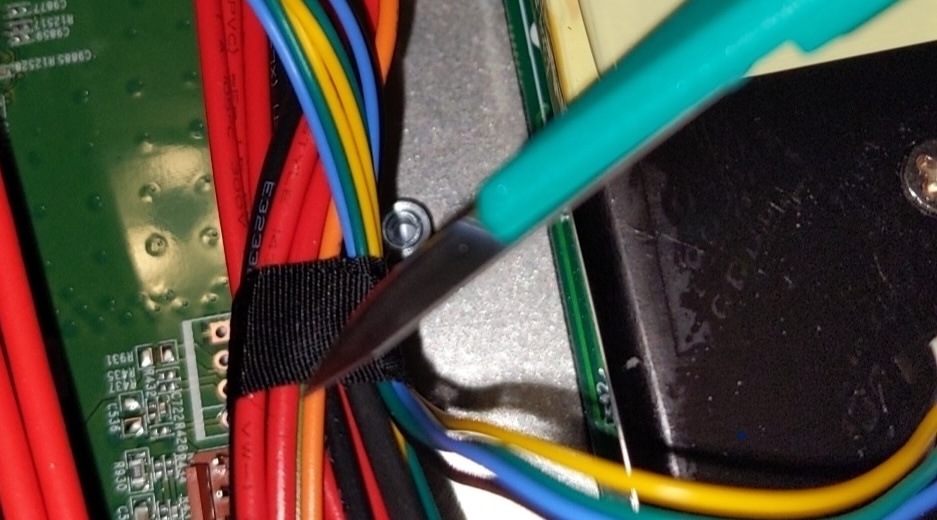
- Unplug the stock fan and remove the 4 screws holding it in place. Be careful not to damage the tape / tray too much.

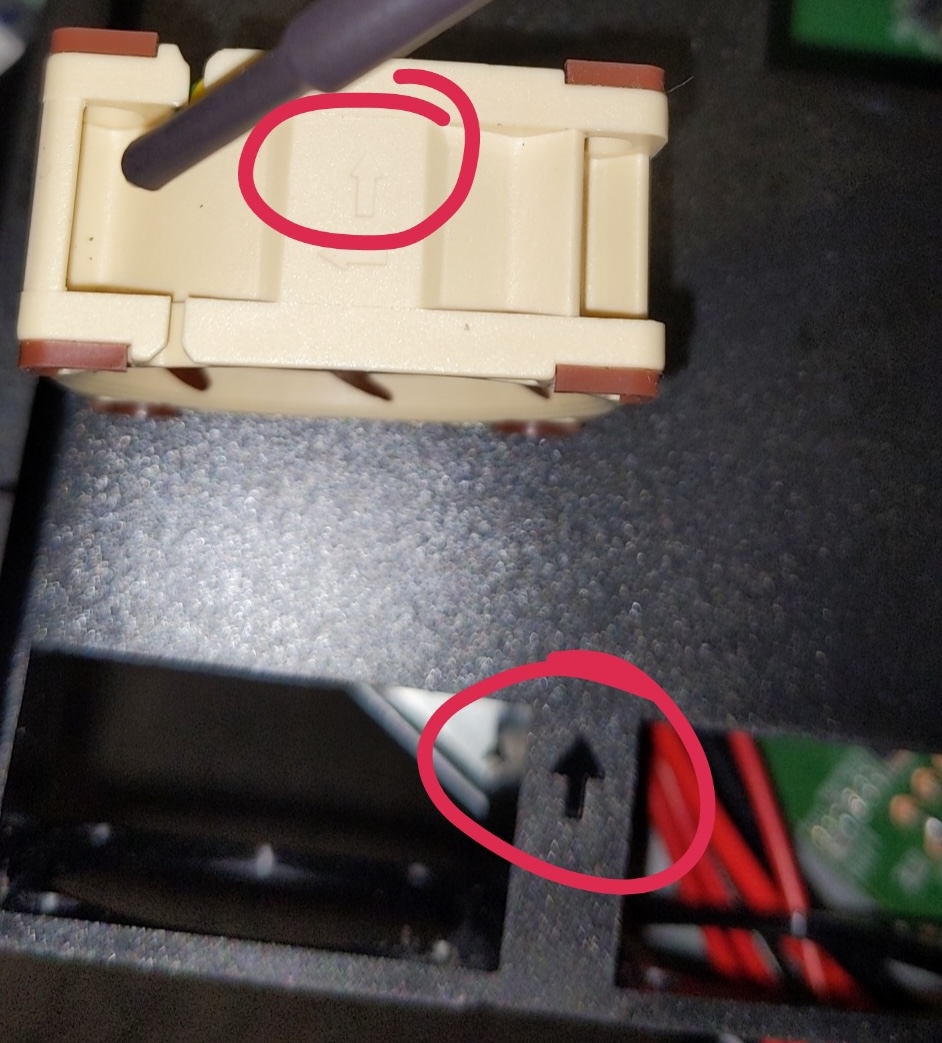
- Install the Noctua fan in the same orientation. The screw holes won’t line up perfectly but get them as close as you can.
- Plug in the new fan, and watch it spin* to confirm it’s working before putting the cover back on.
- Replace the bottom cover and the 4 screws.
Note
*You can’t test noise levels without the HDD installed, as the fan won’t spin without it.
After the mod, there is still some noise coming from another fan (PSU/CPU?), but a big source of the noise, the drive fan, is reduced. Overall, a big improvement!
Enjoy a quieter homelab experience!